Printing Your Study Guide
Published by Nathan, Tech Support Representative on 6th Mar 2014
You've bought your study guide in either the E-Guide or CD format, and you're ready to get your student to work. But how do you get that beautifully formatted study guide to print? Here are some step-by-step instructions to help get you started. Depending on your operating system and Adobe Reader version, your screen may differ slightly from the images used.
Open up the File
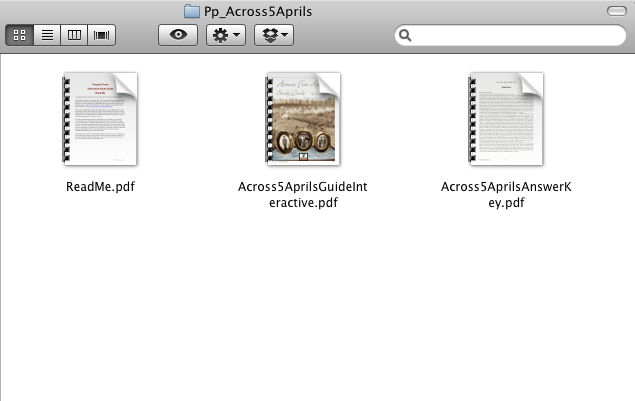
Hopefully you've got the file open already, but if not, now's the time! Double-click on the guide file (generally <title>GuideInteractive.pdf) and it should open right away.

Start Printing
Now you're ready to print! Click the print icon in the toolbar, or press your keyboard print command (Command+P on Mac, Control+P on Windows) This will bring up the printing menu..

Customize your Printing Experience
Here is where things start to differ. You can choose several options from here and we'll touch base of each of them.
Printer Selection
You need to select the printer you are going to use. Generally this is automatically set to your default and you don't need to mess with this. (Your printer name will likely vary from the example given below. Refer to your printer and computer manual for more information about setting up a printer.)

Copies & Pages to Print
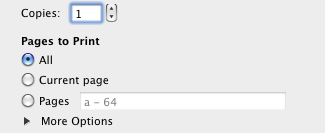
Here you can customize which pages print. You can print specific page ranges, the whole guide, a single copy, or multiple copies (helpful for class sets)

Size Options
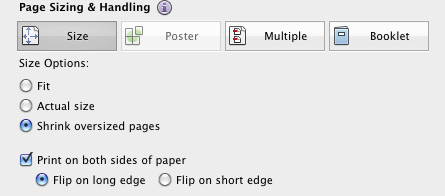
Here is where some people get confused. You have many options here, and not all are beneficial when printing a Progeny Press study guide. We recommend either "Fit" or "Shrink Oversized pages". Don't bother with other sizing options unless you have unique printing needs and are an advanced user.

We also recommend that you save yourself some paper and select "Print on both sides" (if your printer supports this feature)
Orientation
Choose either Automatic or Portrait.
Final Notes
You may notice a watermark printing on the edge of each page. This is a security mark, and cannot be removed. Alteration of the file to remove this mark is not allowed and is a violation of copyright law. You can however reduce the distracting nature of it:
Print in Grayscale.
This prints the security mark in a dull gray rather than a distracting red.
